
I’ll write a series of posts on how to use Filebeat to read the log files of a microservice, to collect and visualize them through the ELK stack (Elasticsearch, Logstash, Kibana).
In this first post we will see a very simple way to have an ELK stack installed on your PC thanks to Docker Desktop and Docker Compose.
First of all you need to have Docker Desktop running on your machine, then you can clone the really usefull project docker-elk from GitHub.
git clone https://github.com/deviantony/docker-elk |
We disable the paid features by editing the file elasticsearch.yml that you can find in the directory “docker-elk/elasticsearch/config”.
We need to change the value of the “xpack.license.self_generated.type” key from “trial” to “basic”.
01 02 03 04 05 06 07 08 09 10 11 12 13 | ---## Default Elasticsearch configuration from Elasticsearch base image.#cluster.name: "docker-cluster"network.host: 0.0.0.0## X-Pack settings#xpack.license.self_generated.type: basicxpack.security.enabled: truexpack.monitoring.collection.enabled: true |
We enter then the docker-elk directory and we can start the project through Docker Compose.
cd /docker-elkdocker-compose up -d |
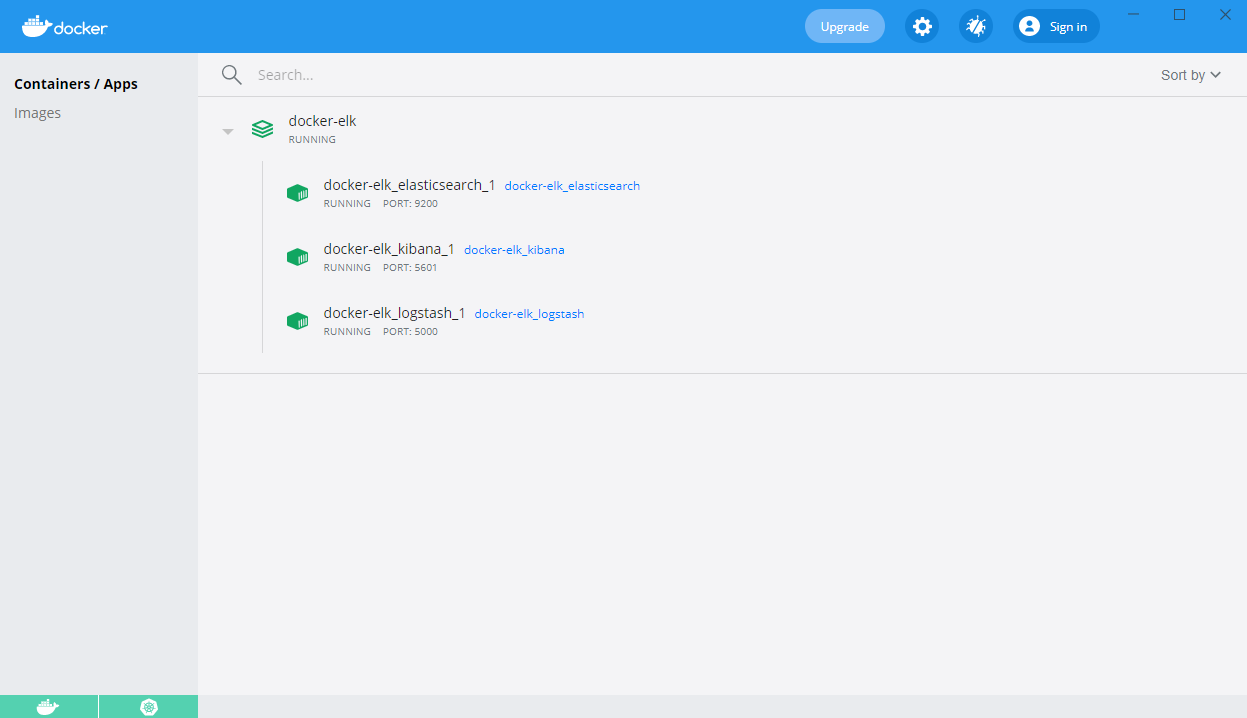
Once finished you will be able to view the containers created on the Docker Desktop dashboard.
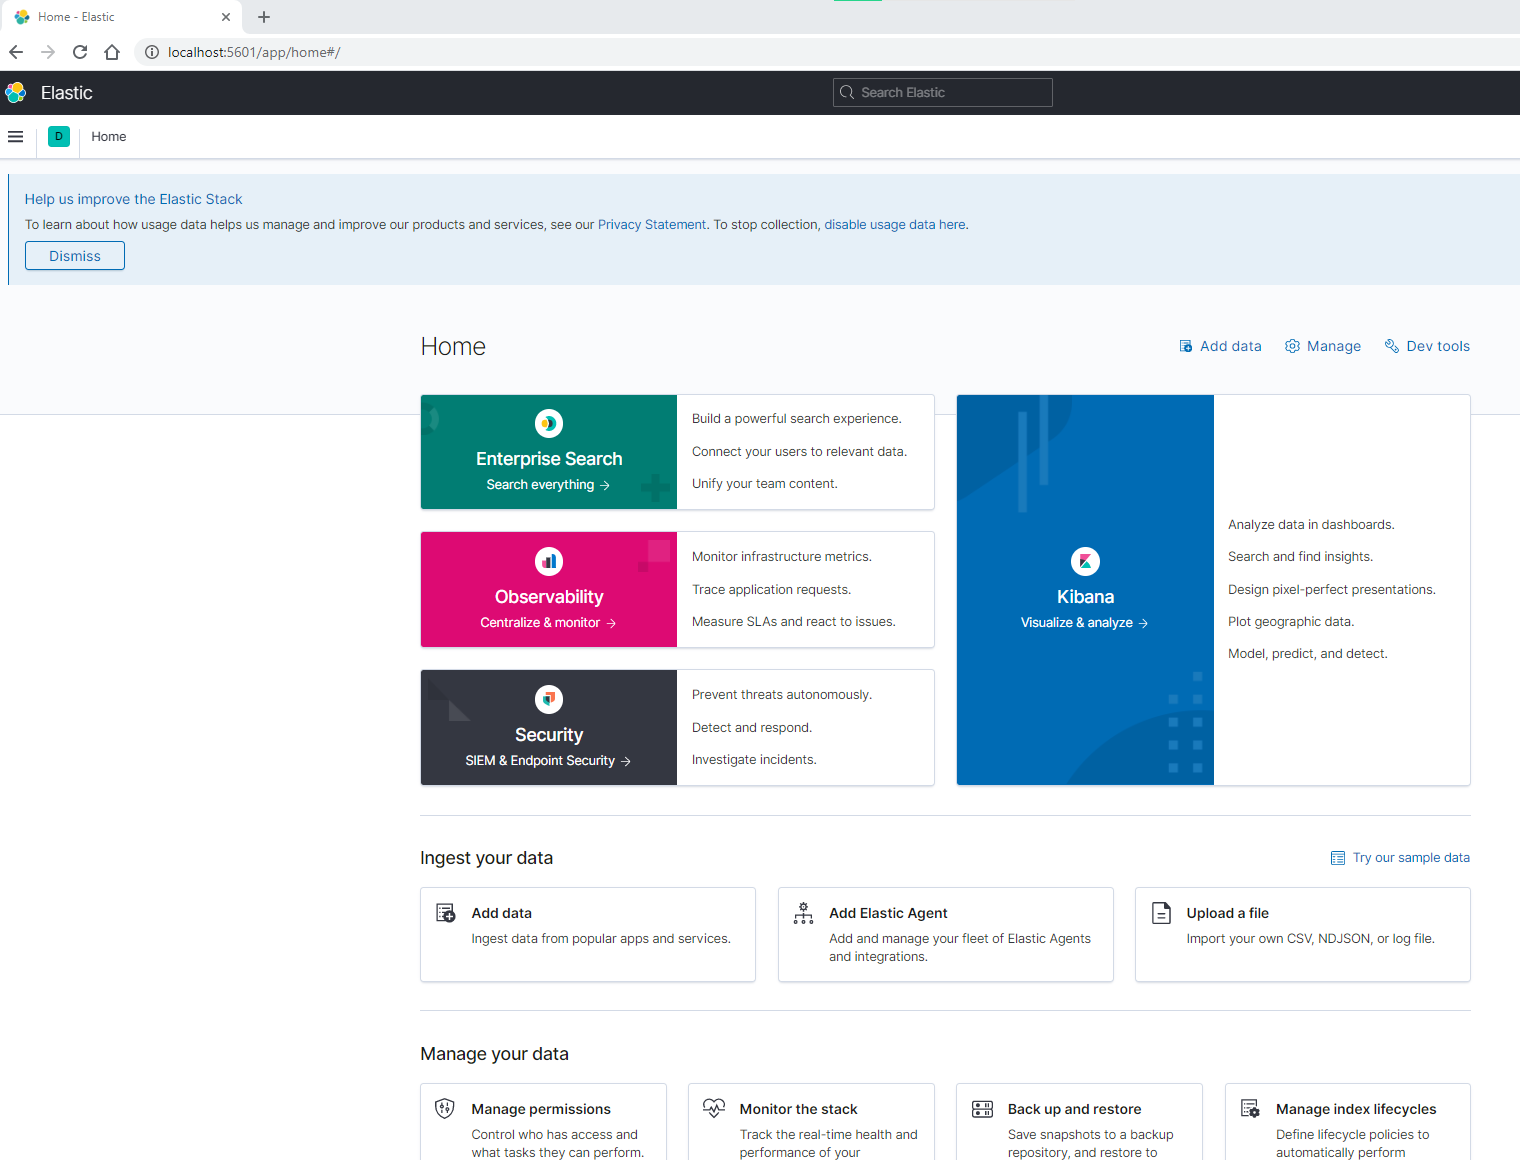
Now your brand new ELK stack it’s ready and you can login through default access:
You can then start using Kibana and the ELK stack.
If you need to uninstall ELK stack just use the following command for Docker Compose.
docker-compose down -v |
In a future post we will continue by adding Filebeat running on Docker as well.