In this post we see how to deploy Apache OpenWhisk, an open source serverless platform, and how to create an example of hello world action.
This example was done using Docker Desktop on Windows 10 with Ubuntu 18.04 WSL 2.
We will see how to deploy OpenWhisk to other Kubernetes clusters in next posts.
We will use Helm to deploy OpenWhisk on Kubernetes so let’s install it.
curl https://baltocdn.com/helm/signing.asc | sudo apt-key add -
sudo apt-get install apt-transport-https --yes
echo "deb https://baltocdn.com/helm/stable/debian/ all main" | sudo tee /etc/apt/sources.list.d/helm-stable-debian.list
sudo apt-get update
sudo apt-get install helm
Clone the Git openwhisk-deploy-kube repo.
git clone https://github.com/apache/openwhisk-deploy-kube.git
cd openwhisk-deploy-kube
Check that InternalIP is 192.168.65.3 and port 31001 is available.
kubectl describe nodes | grep "InternalIP"
sudo netstat -tulpn | grep 31001
Create a mycluster.yaml file.
whisk:
  ingress:
    type: NodePort
    apiHostName: 192.168.65.3
    apiHostPort: 31001

nginx:
  httpsNodePort: 31001
Create a Kubernetes namespace for OpenWhisk.
kubectl create namespace openwhisk
Indicate that all nodes can be used by OpenWhisk to execute containers.
kubectl label nodes --all openwhisk-role=invoker
Deploy OpenWhisk using Helm.
helm install owdev ./helm/openwhisk -n openwhisk -f mycluster.yaml
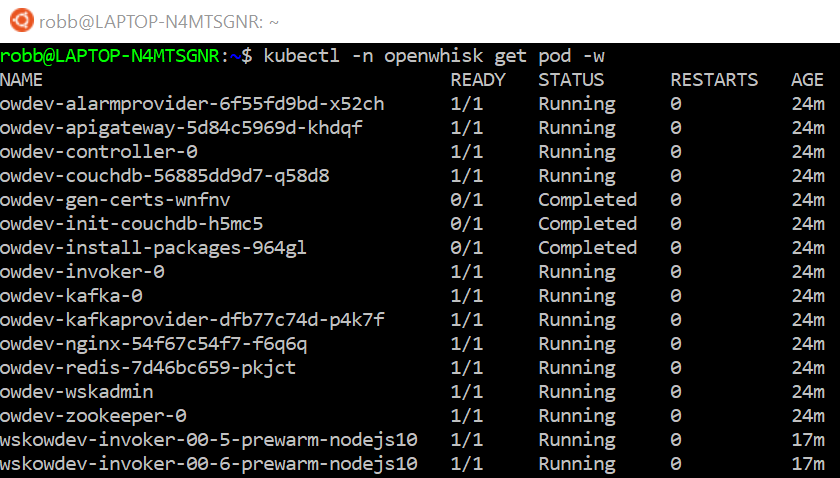
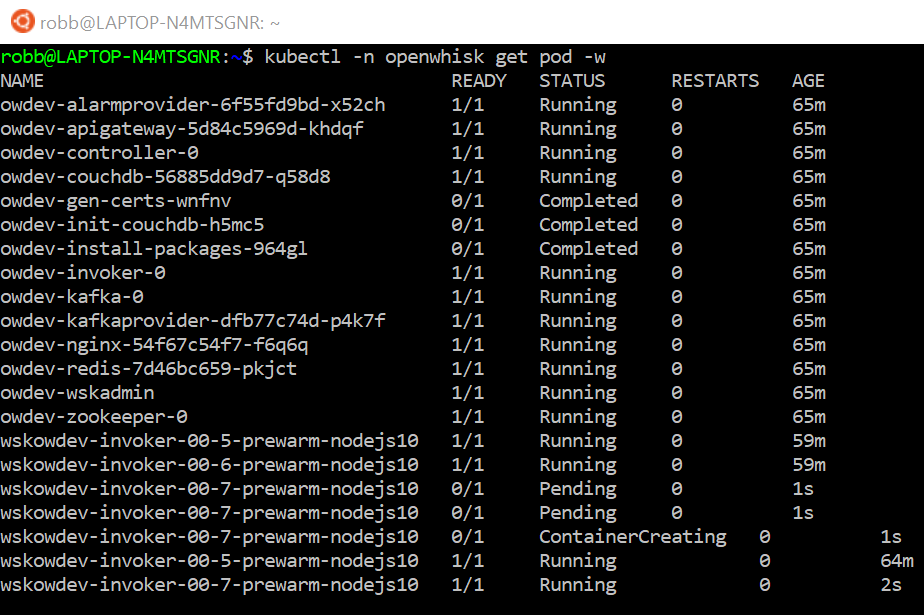
Wait for the deployment to be complete by observing the status of the pods created.
kubectl -n openwhisk get pod -w
The deployment will be finished when the install-packages pod status is completed.

Install the wsk cli.
curl -L -O https://github.com/apache/openwhisk-cli/releases/download/1.1.0/OpenWhisk_CLI-1.1.0-linux-amd64.tgz
mkdir wsk-cli
tar -xvzf OpenWhisk_CLI-1.1.0-linux-amd64.tgz -C wsk-cli
sudo ln -s $HOME/wsk-cli/wsk /usr/local/bin/wsk
Configure the wsk cli apihost property.
wsk -i property set --apihost localhost:31001
List users in the guest namespace.
kubectl -n openwhisk -ti exec owdev-wskadmin -- wskadmin user list guest
And use the string you get to set the wsk cli auth property.
wsk -i property set --auth 23bc46b1-71f6-4ed5-8c54-816aa4f8c502:123zO3xZCLrMN6v2BKK1dXYFpXlPkccOFqm12CdAsMgRU4VrNZ9lyGVCGuMDGIwP
Create a JavaScript file, helloWorldAction.js, for a Node.js serverless function.
const os = require('os')

function main(params) {
    const name = params && params.name || 'anonymous'
    const hostname = os.hostname()
    const message = `Hello ${name} from ${hostname}`
    const body = JSON.stringify({
        name,
        hostname,
        message
    })
    const response = {
        statusCode: 200,
        headers: { 'Content-Type': 'application/json' },
        body
    }
    return response
}
Create a web action.
wsk -i action create helloWorldAction helloWorldAction.js --web true
You can now invoke the action from shell.
wsk -i action invoke helloWorldAction --result --param name Roberto
You will see that OpenWhisk creates automatically containers running your serverless function.

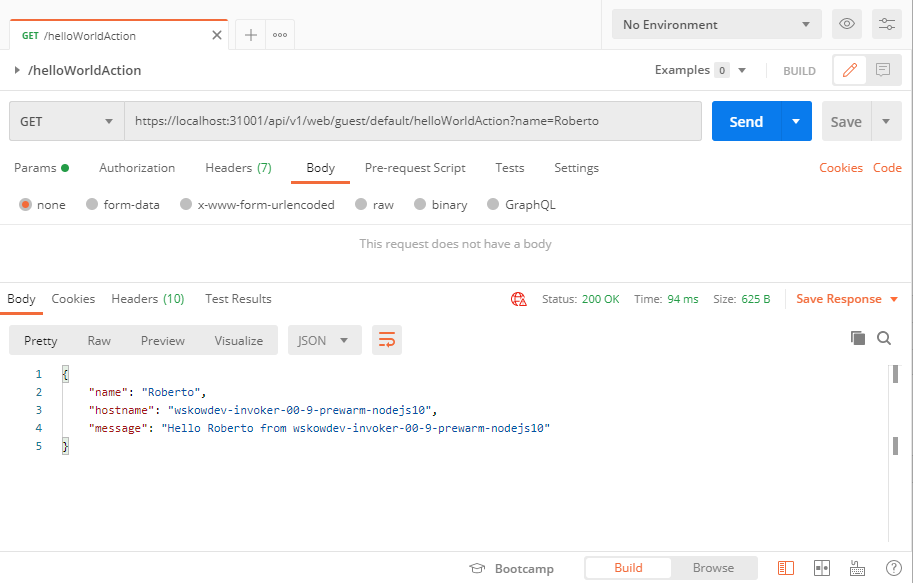
Or get the action URL to use it as a webservice.
wsk -i action get helloWorldAction --url
You can use the action URL to test it through Postman.

If you want to remove OpenWhisk you can do it through Helm.
helm -n openwhisk delete owdev
Delete all remaining pods.
kubectl -n openwhisk delete pod --all
Remove the label and the namespace.
kubectl label node docker-desktop openwhisk-role-
kubectl delete namespaces openwhisk
In next posts we will see examples about how to use all components of the Apache OpenWhisk programming model.

