
In the previous example we have seen how to use Kubernetes and Docker to deploy a Node.js microservice to interact with Redis, also showing in a basic way how Redis persistence works and how to scale up application’s microservice.
In this example we will test our application using ApacheBench.
This will show the applications behaviour when we have many requests and what happens in case of high concurrency with Redis.
To try this example on your PC you only need to install Docker Desktop and Node.js then follow the described steps.
Create a directory for this example and inside copy the two directories from the previous example, redis-server and webservice.
mkdir node-redis-example-4
cd node-redis-example-4
cp -r ../node-redis-example-3/redis-server/ .
cp -r ../node-redis-example-3/webservice/ .
Enter the redis-server directory and build our redis-server Docker image.
If you didn’t tried the previous example, read it to know about the Redis persistence directory and how to configure it on your PC.
cd redis-server
docker build -t redis-server:1.0.0 -f Dockerfile .
Apply the redis-server Kubernetes deployment configuration.
kubectl apply -f ./deploy.yml
Apply the redis-server Kubernetes service configuration.
kubectl apply -f ./service.yml
Inside the Node.js webservice directory, edit index.js to add a log both when we send a SET key pair request and when we send a GET key pair request.
// Import packages.
const express = require('express')
const redis = require('redis')
const { promisify } = require('util')

// Create and configure a webserver.
const app = express()
app.use(express.json())

// Create and configure a Redis client.
const redisClient = redis.createClient('6379', process.env.REDIS_SERVER_IP)
redisClient.on('error', error =>  console.error(error))
const redisSet = promisify(redisClient.set).bind(redisClient)
const redisGet = promisify(redisClient.get).bind(redisClient)

// Create an endpoint to set a key value pair.
app.post('/setValue', async (req, res) => {
    if (req.body.key && req.body.value) {
        try {
            await redisSet(req.body.key, req.body.value)
            console.log(`SET key=${req.body.key} value=${req.body.value}`)
            res.send()
        } catch (e) {
            res.json(e)
        }
    } else {
        res.status(400).json({ error: 'Wrong input.' })
    }
})

// Create an endpoint to get a key value pair.
app.get('/getValue/:key', async (req, res) => {
    if (!req.params.key) {
        return res.status(400).json({ error: 'Wrong input.' })
    }

    try {
        const value = await redisGet(req.params.key)
        console.log(`GET key=${req.params.key} value=${value}`)
        res.json(value)
    } catch (e) {
        res.json(e)
    }
})

// Start the webserver.
app.listen(3000, () => {
    console.log('Server is up on port 3000')
})
Enter the webservice directory and build the microservice image.
cd ../webservice
docker build -t webservice:1.0.0 -f Dockerfile .
Apply the webservice Kubernetes deployment configuration.
kubectl apply -f ./deploy.yml
Apply the webservice Kubernetes service configuration.
kubectl apply -f ./service.yml
Create a directory for our ApacheBench test inside our project folder.
mkdir ../ab-test
cd ../ab-test
If you don’t have ApacheBench on your PC you will need to install it, for example by running the following command if you are using Ubuntu 18.04:
sudo apt-get install apache2-utils
Create inside an ab-test.sh file inside the ab-test folder.
This will use ApacheBench to execute 1000 requests, 100 concurrent requests at a time, to set on Redis the key name with ‘Roberto’ as value and in the same time other 1000 requests, 100 concurrent at a time to set on Redis the key name with ‘Bandini’.
The POST requests body it will then be contained in two json files, test1.json and test2.json and the test results will be written to test1-result.txt and test2-restult.txt files.
#!/bin/sh

ab -n 1000 -c 100 -T application/json -p test1.json http://localhost:30000/setValue > test1-result.txt &
ab -n 1000 -c 100 -T application/json -p test2.json http://localhost:30000/setValue > test2-result.txt &
Create the test1.json file inside the ab-test directory.
{
    "key": "name",
    "value": "Roberto"
}
Create the test2.json file inside the ab-test directory.
{
    "key": "name",
    "value": "Bandini"
}
List the container’s running.
docker ps -a
Look for the two microservice’s container ids, for example:
CONTAINER ID        IMAGE               COMMAND                  CREATED              STATUS              PORTS               NAMES
c56eea6576ab        505727042d09        "docker-entrypoint.s…"   25 seconds ago       Up 25 seconds                           k8s_webservice_webservice-6dcb45b866-nxk7x_default_ee7a8dbf-70f5-42e5-85a3-dd05dd74a575_0
825ae02e5a54        505727042d09        "docker-entrypoint.s…"   25 seconds ago       Up 25 seconds                           k8s_webservice_webservice-6dcb45b866-jsk8s_default_5177d653-9170-4043-bb89-e845a827e982_0
745b20252558        fd4f89ede5e6        "sh -c /run.sh"          About a minute ago   Up About a minute                       k8s_redis-server_redis-server-7c58c68b7b-rr6wj_default_2a5c4430-9e09-44ee-97f4-843caa4868d6_0
Open a second shell window to watch logs of the first container.
docker logs -f c56eea6576ab
Open a third shell window to watch logs of the second container.
docker logs -f 825ae02e5a54
Run the ab-test.sh script on the first shel windows, from the ab-test directory.
./ab-test.sh
In the first shell you will see that ApacheBench will perform the requests, 100 a time for both the value, at the same time.
Completed 100 requests
Completed 100 requests
Completed 200 requests
Completed 200 requests
Completed 300 requests
Completed 300 requests
Completed 400 requests
Completed 400 requests
Completed 500 requests
Completed 500 requests
Completed 600 requests
Completed 600 requests
Completed 700 requests
Completed 700 requests
Completed 800 requests
Completed 800 requests
Completed 900 requests
Completed 900 requests
Completed 1000 requests
Finished 1000 requests
Completed 1000 requests
Finished 1000 requests
In the second and in the third shell you will see that the requests are received from the webservice Kubernetes service and distributed to the two Node.js microservice containers.
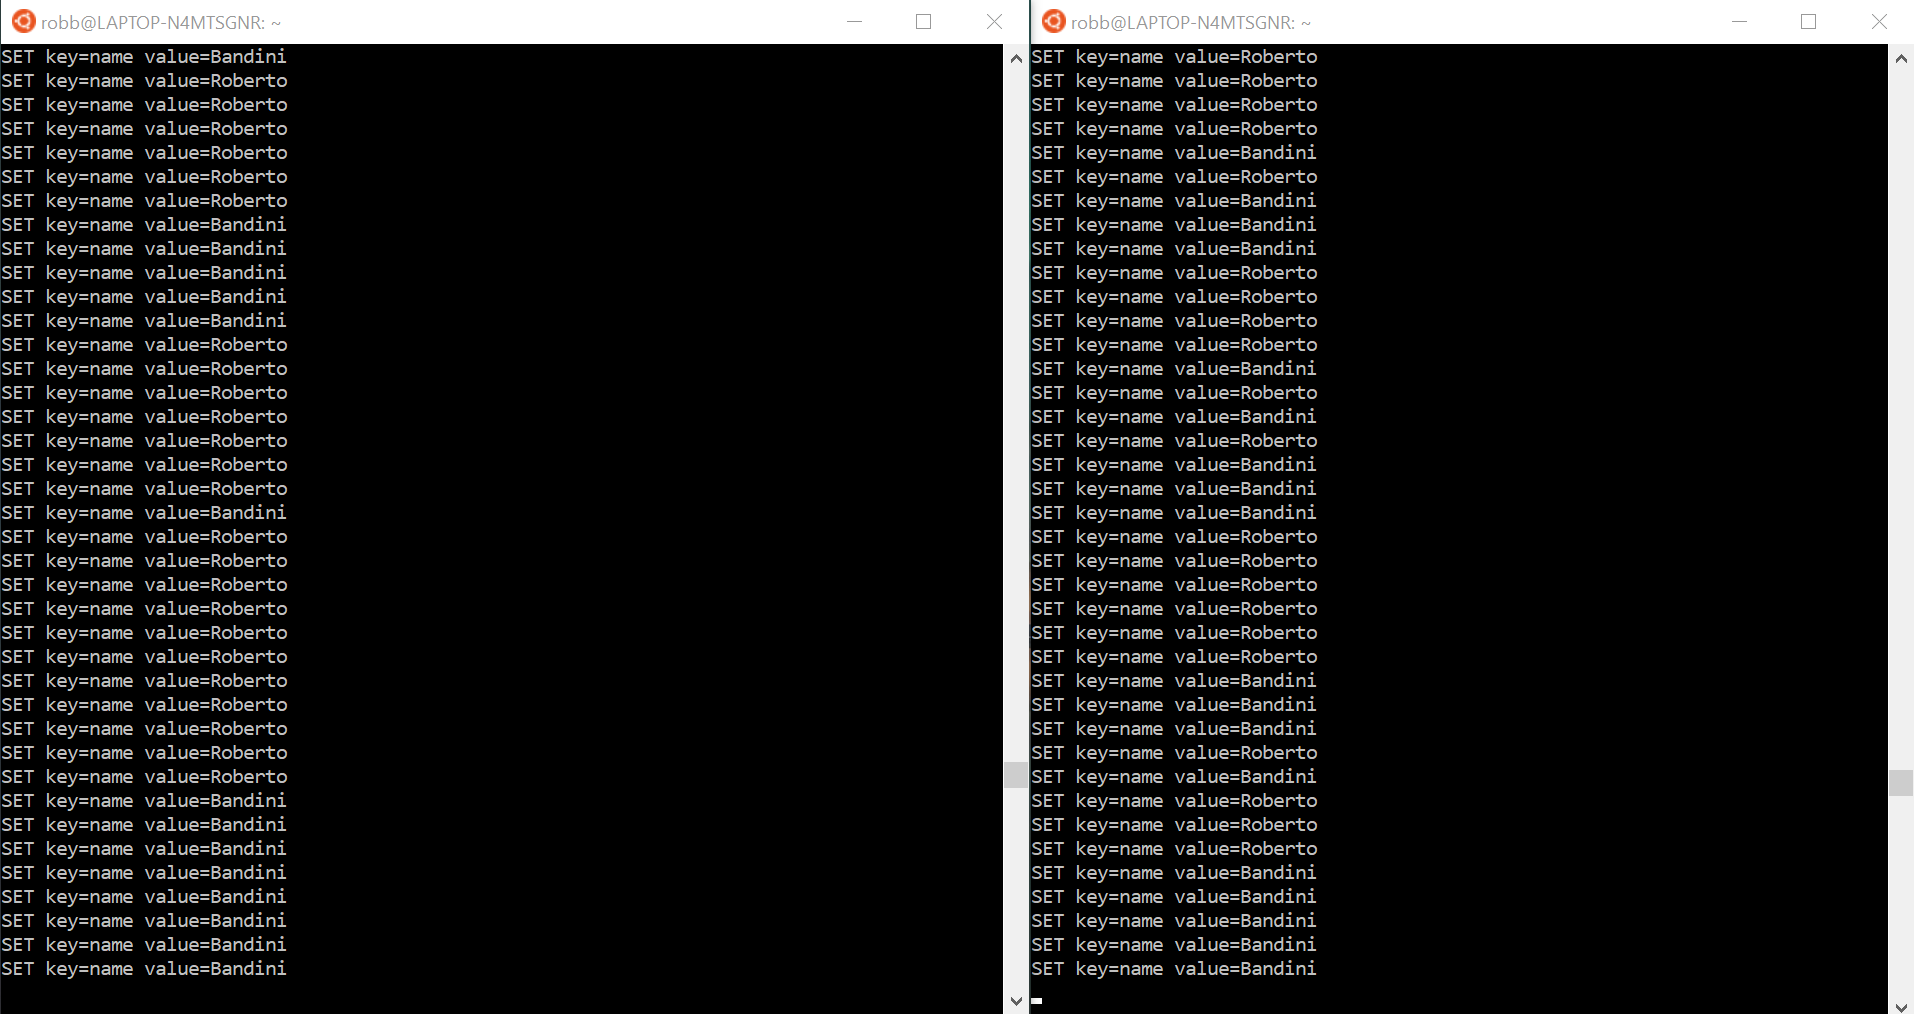
But if you run the script several times you will see that you can’t know before which will be the final value of the key on Redis.
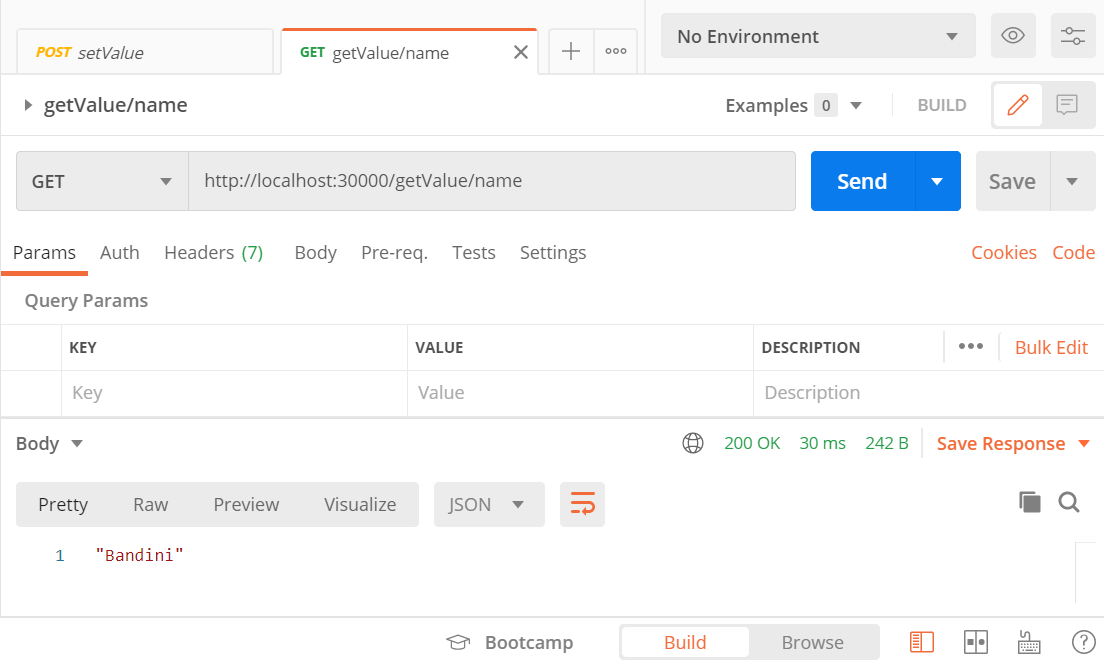
You can also check with Postman as in the previous examples.
You can see also the results of ApacheBench tests inside test1-result.txt and test2-result.txt inside the ab-test directory.
Here an example of the test1-result.txt.
This is ApacheBench, Version 2.3 <$Revision: 1807734 $>
Copyright 1996 Adam Twiss, Zeus Technology Ltd, http://www.zeustech.net/
Licensed to The Apache Software Foundation, http://www.apache.org/

Benchmarking localhost (be patient)


Server Software:
Server Hostname:        localhost
Server Port:            30000

Document Path:          /setValue
Document Length:        0 bytes

Concurrency Level:      100
Time taken for tests:   0.751 seconds
Complete requests:      1000
Failed requests:        0
Total transferred:      98000 bytes
Total body sent:        192000
HTML transferred:       0 bytes
Requests per second:    1332.07 [#/sec] (mean)
Time per request:       75.071 [ms] (mean)
Time per request:       0.751 [ms] (mean, across all concurrent requests)
Transfer rate:          127.48 [Kbytes/sec] received
                        249.76 kb/s sent
                        377.25 kb/s total

Connection Times (ms)
              min  mean[+/-sd] median   max
Connect:        0    1   0.9      1       4
Processing:    31   72  18.8     70     123
Waiting:       21   58  16.9     57     108
Total:         32   73  18.8     70     125

Percentage of the requests served within a certain time (ms)
  50%     70
  66%     79
  75%     84
  80%     88
  90%    102
  95%    107
  98%    110
  99%    120
 100%    125 (longest request)
Redis is, mostly, a single-threaded server, “How fast is Redis?”, and we have a limit to the number of clients handled simultaneously, “Redis Clients Handling”, so we can’t know the order in which clients are served in this case.
So what if we want to give an order to these requests and what if we want to lock a key to prevent another client from writing it in the same time? We will talk about these arguments in the nexts posts.
You can find the source code on this GitHub repository:
https://github.com/robertobandini/node-redis-example-4
It also includes the Postman collection used and a sw-version.txt file to specify the softwares used for this project and their versions.